For a really good explanation of how to do wood engraving, go here. I'm being taught by master printmaker Patsy Payne, who hasn't made a wood engraving for ten years, but made lots of gorgeous ones in the 1990s (she works with large scale woodcut and lino images these days).

She laid lots of her blocks and their corresponding prints out on the table for us to study (and drool).
We learned how about the tools:

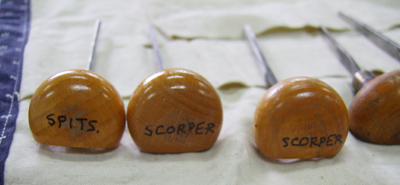
They have wonderful names like 'spitsticker', 'bullsticker', 'scorper'. We also learned how to hold them properly:

I'm gripping a bit tightly with my thumb here, because I'm nervous :)
And how to engrave:
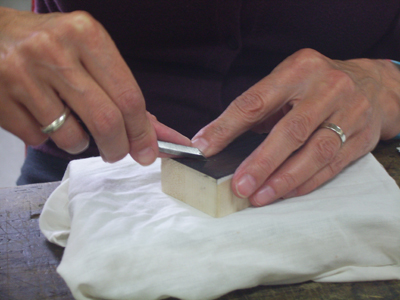
(Patsy's hands, giving a demo.)
And we learned how to put an image on the block if you don't just want to draw or carve directly without planning. We are using pieces of maple, small cubes joined together to make larger pieces. We had to sand them gently to give them a surface polish like glass, to allow us to print a very rich, silky black. Once polished, we gave the printing surface a thin and quick coating of white gouache, rubbing it off so as not to dampen the wood, but allowing it to stain white, to allow us to draw easily on the blocks.
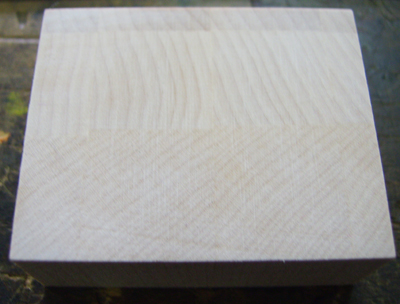
This is my block, whitened. It's about 7 x 5cm.
I'll walk you through what I got up to today.

I'd found an old drawing in a sketchbook from when I was learning to make prints; I was doing a lot of 'body' drawings (I was a life model at the time). This is a sketch of the original sketch, pared down and made the same size as the block.

This is the block after I'd transferred the drawing to tissue paper, redrawn it onto the block (reversed) using carbon paper, and then drawn up again in Indian ink.
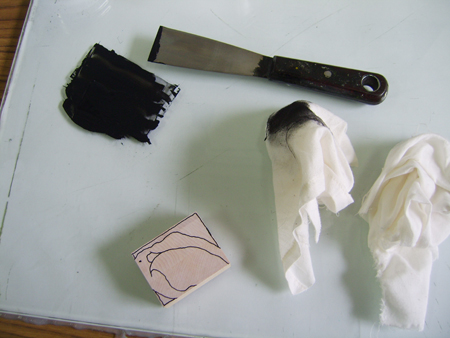
Now we're dabbing printing ink on the surface, and then rubbing it off vigorously to remove as much as possible; the aim is to darken the surface yet still be able to see the ink drawing. Then when I carve, I'll see the light wood through the dark and will get an idea of the print's progress.
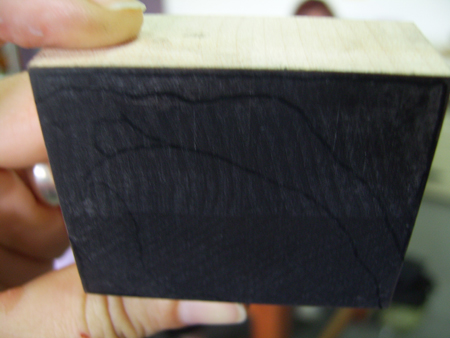
It's a hard photo to take! But you can see the drawing if you look carefully.

And then you carve, and Patsy let us play with marks on a test piece first to get a feel for the tools. Once you sit in front of your own block, things get scary. But I steeled myself (heh, with a tool), and got stuck in, so to speak. This is as far as I've got, and I'll finish the rest tomorrow. I may have to go back into that top leg again once I've proofed it, but I'm fairly happy so far. I love the sound the tools make as they cut through the wood.
More tomorrow!
7 comments:
I am sooo pleased you are blogging about this course. I really wanted to go but it is a long way from Northern NSW and we have a bit happening family wise at the moment. So thankyou!! I am very envious but at least I can share in the weekend a little from afar!
My pleasure, Lynette!
Patsy has very elegant paws, doesn't she?
shiiiiiiiit!
sigh. can I come down and force you to teach me by threatening you with large quantities of red wine and anything you love to eat? I can't afford that sort of money for the course but I'm pretty desperate to understand the difference between carving wood and lino.
lino is piss-easy, but wood is a mental block (as opposed to a wooden block. groan).
Of course you can, Speedy, but wait & see if you think I'm any good at it yet! Plus I'll have to buy some tools... I have the ink, because I mix it with offset ink to make strong blacks. But I'll have to buy the tools one at a time, because they're fairly pricy if you want good ones (which I do!).
You know that this is different from woodcuts, don't you? Woodcuts use the planks, or side-grain (or plywood), and are much coarser. You can make woodcuts with knives and chisels and routers etc. Wood engravings use the end grain, which is denser and harder to wrangle into a block, which is why the prints are a lot smaller. But you can get much more delicate marks out of it.
yup yup yup, do understand the difference... I need to do woodcut as well!
Post a Comment